전체 과정
Push로 Travis 빌드 -> AWS S3를 통해 업로드 -> AWS CodeDeploy -> AWS EC2에 배포를 해보려 한다.
첫 번째 할 일은 Travis와 Github Repository 연동
https://www.travis-ci.com/
Homepage | Travis CI – Start building today!
Travis CI is a continuous integration tool that test and deploy your projects with ease. Sync your build projects with Travis CI in minutes!
www.travis-ci.com
원래는 https://www.travis-ci.org 였으나 유료로 전환되며 바뀐듯하다.
Github으로 연동하고 나면 우측 상단 > Settings에서 검색으로 Repository를 검색할 수 있다.

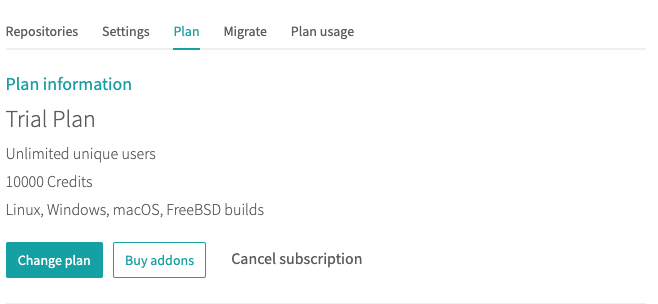
그러고 나면 Plan을 선택해야 하는데,
Free Trial Plan #
A free ‘Trial’ Plan, which any new user can select upon sign up, is a usage-based plan with an unlimited amount of users, which comes with a 10k trial pool of credits to start building right away. Once these credits run out, they are not replenished, and users must subscribe to a higher plan to continue building. Request OSS Credits allowance, or please consider one of our available plans. Trial credits are valid only for 30 days.
무료 체험은 신규회원에 한해 한달동안만 유효하며 빌드 분당 10크레딧이 사용되는것으로 보인다.

plan까지 선택하고 나면 travis 설정 파일을 추가해야 된다.
본 프로젝트로 돌아가서
build.gradle이 있는 위치에 .travis.yml을 추가한다.(그냥 travis.yml이 아니라 .travis.yml 이다)

간단한 옵션만 추가해서 생성해보았다.

사용언어, 당겨올 브랜치, 스크립트, 실패와 성공에 따른 notification 등 설정할 수 있다.
slack연동으로 노티를 줄 수도 있다.
추가 설정은 아래 공식 문서에서 확인할 수 있다.
https://docs.travis-ci.com/user/notifications#sts=Configuring%20Slack%20notifications%20#
Travis CI Documentation
Configuring Build Notifications
docs.travis-ci.com
작성을 하고 commit > push를 실행한다.
Travis를 가서 확인해보면 연동한 repsitory 프로젝트가 빌드 되는것을 확인할 수 있다.

성공시 초록색으로 Passing이라고 표시된다.
위에 yml설정을 통해 Job log에 찍힐 log도 추가할 수 있다.
여기까지 완료되면 Push로 자동 빌드까지는 성공!
'PROGRAMMING > CI&CD' 카테고리의 다른 글
| 4-1. AWS EC2와 CodeDeploy 연동하기 (역할 추가) (0) | 2022.02.27 |
|---|---|
| 3. AWS S3 버킷 생성 & Travis에 엑세스 키 등록 (0) | 2022.02.26 |
| 2. AWS IAM 엑세스 키 발급 (0) | 2022.02.26 |
| [Jenkins] 젠킨스 포트번호 변경 (0) | 2022.01.02 |
| [Jenkins] Mac OS 젠킨스 설치 (0) | 2022.01.01 |


